Simple Sourdough Starter Recipe
Making Natural Yeast "Starter"
“Starter” goes by many names. “Natural Yeast” “Wild Yeast” “Wild Starter” “Sourdough Starter” “Levain”. But, whatever you want to call it, it is basically a combination of flour, water, and air!
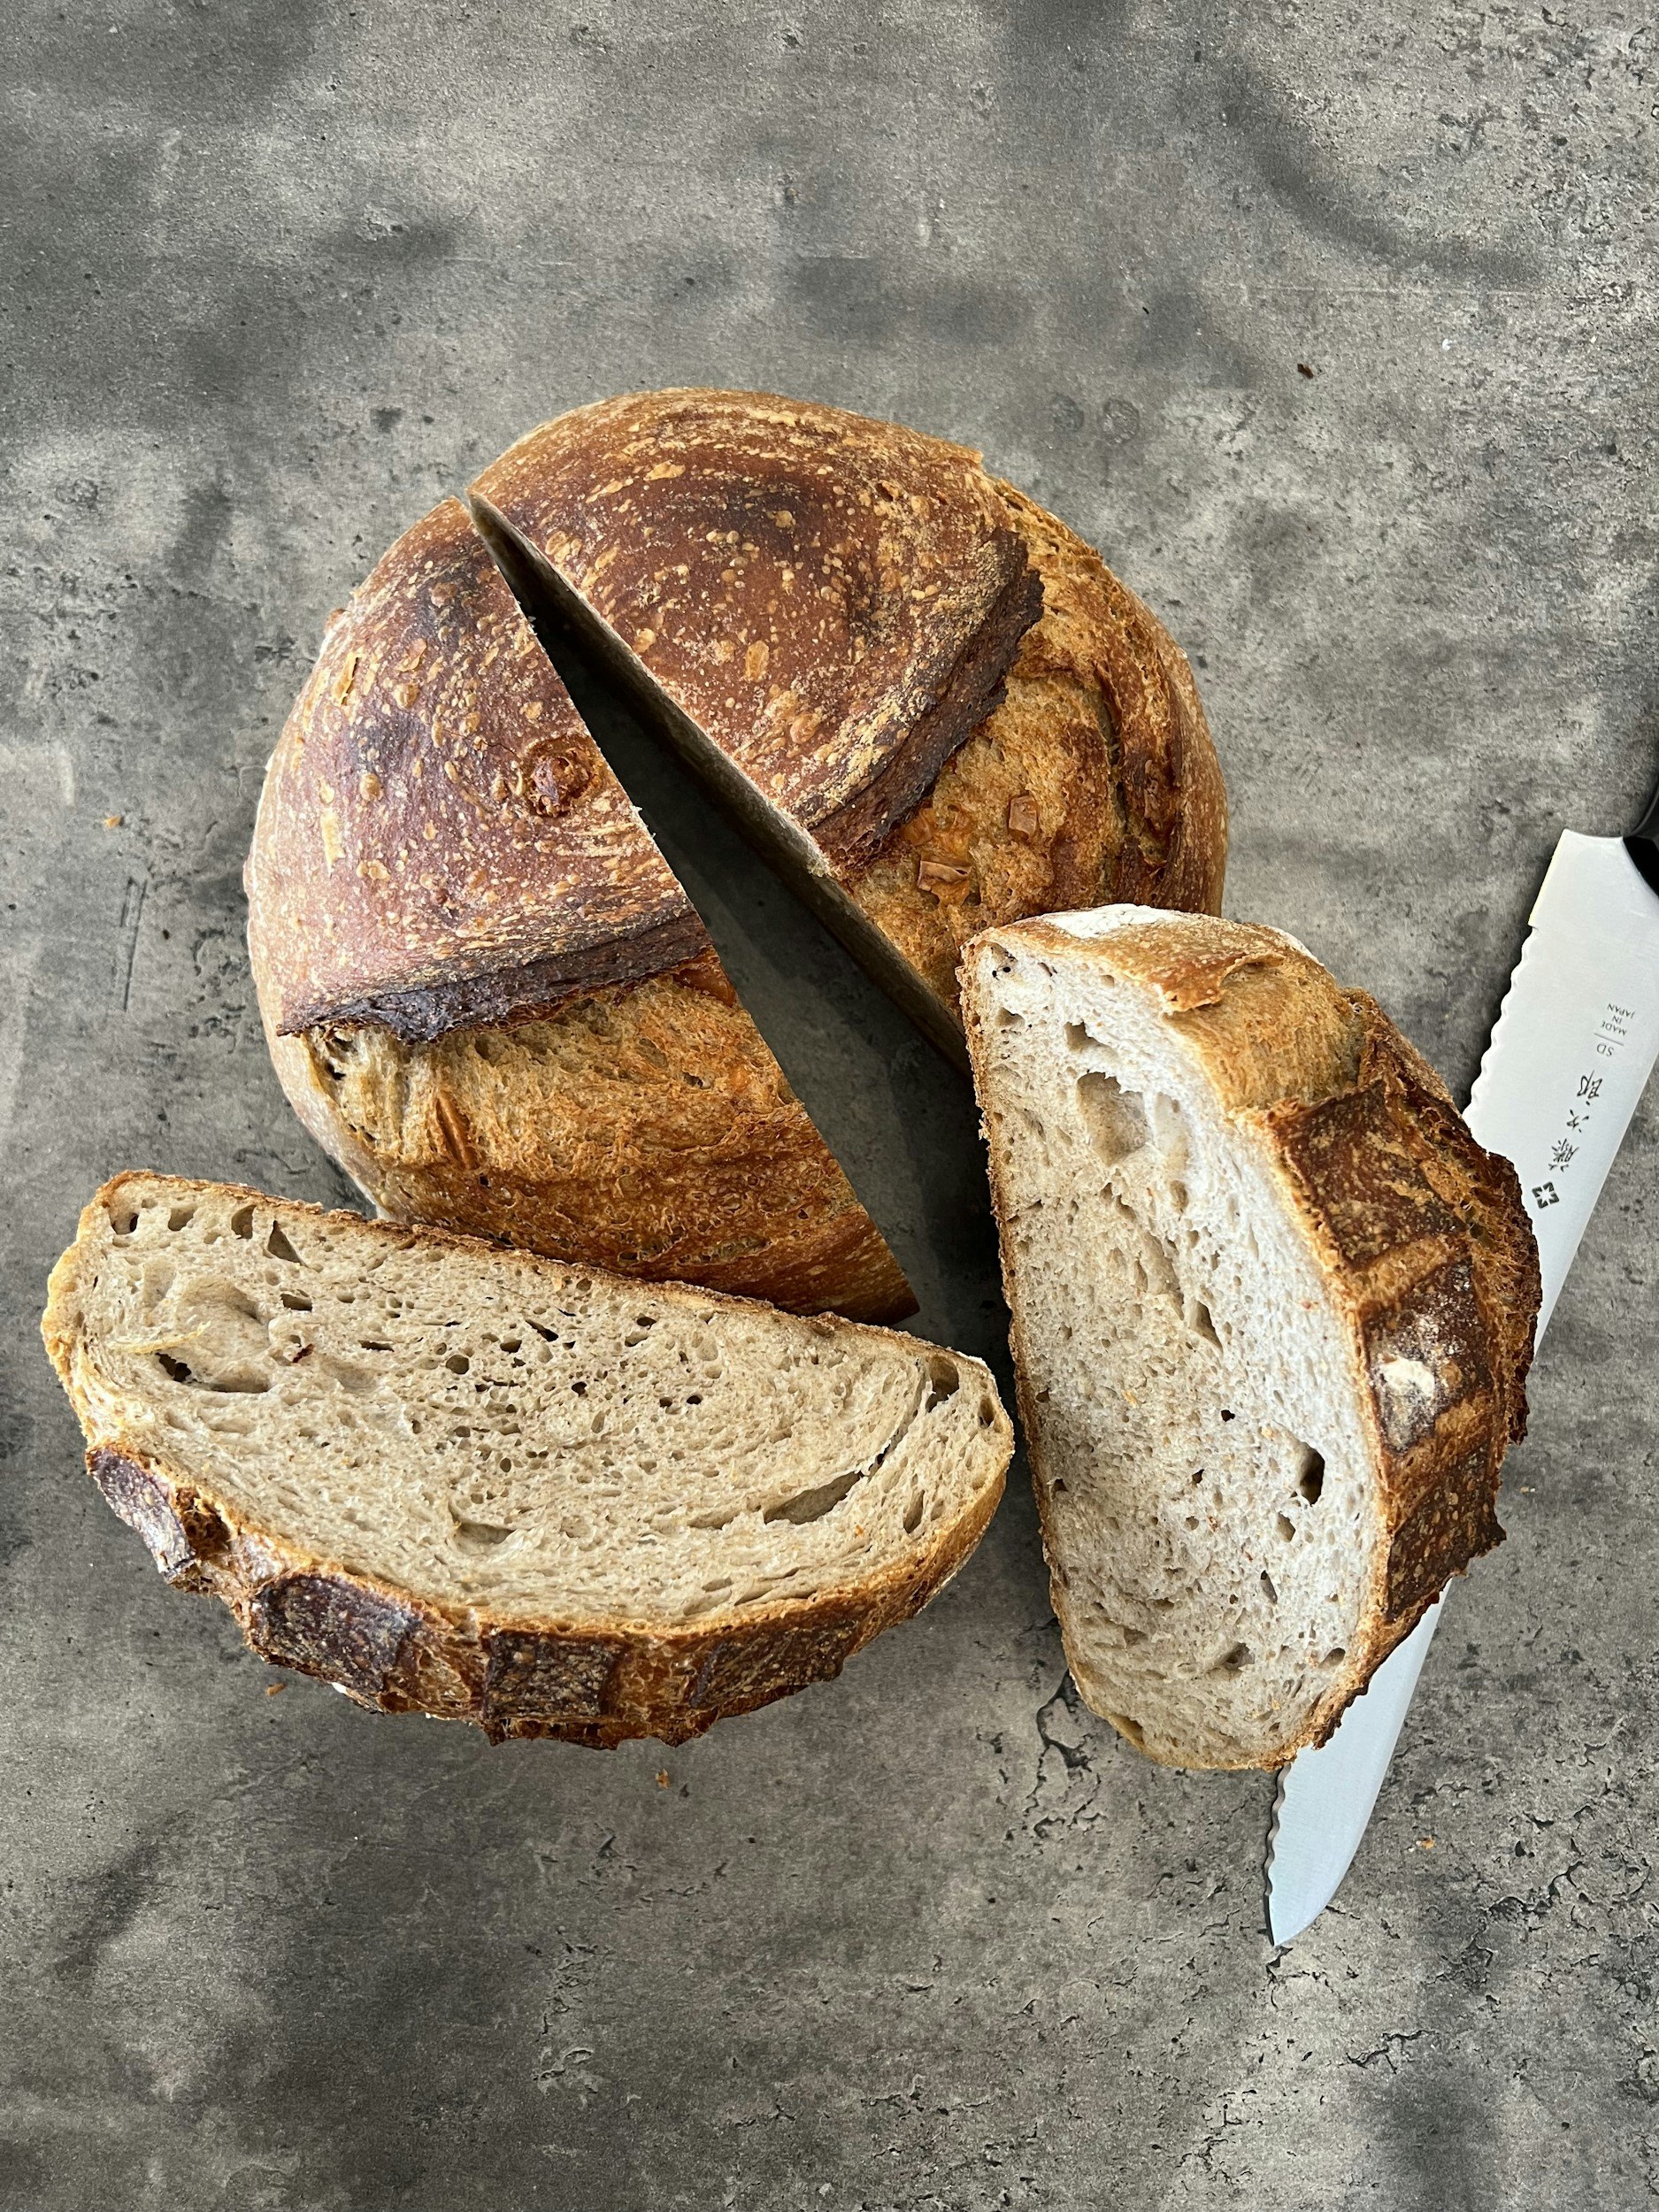
Making home made bread with natural starter gives you the MOST delicious bread you will ever taste!
We can make “Starter” once and then keep it in the fridge to use and grow and feed for as long as you both shall live (or as long as you feel like taking care of it!)
When the natural bacteria from the air, interacts with the natural yeast found in the flour, some magic happens and it turns into a bubbly concoction that is perfect for baking breads, pizza doughs, bagels, muffins, pancakes, whatever your baking heart desires.
The reason we like using “Starter” over traditional dried yeast is that the natural fermentation that occurs helps break down the phytic acid found in the grains. By doing this, we can digest them easier and the minerals and nutrients that are in the grain get absorbed into our bodies better. The fermentation that occurs also increases the pre-biotics that are in the dough itself.
It also yields the best-tasting breads I have ever had!!!
Before we can bake with it, we have to spend a little time making the starter.
What you need:
1) Organic All Purpose Flour: organic means that there were no toxic pesticides used during growing and no glyphosate used to kill down the crop. This gives us the purest flour. You can use other types of flour, but if you are just starting out, using All Purpose Flour is an easy way to start. You can add other types of flour when you go to bake, but for making the starter, stick to just one type of flour.
Here is the one I use for my starter and most of my break-making
2) Purified Water: Using pure water with no chemicals including chlorine, ensures that your starter will not die from the chemicals. I use an Aqua Tru for my water that we use every day to cook with and drink. (this link will give you $100 off if you choose to buy one!)
Here’s how to do it:
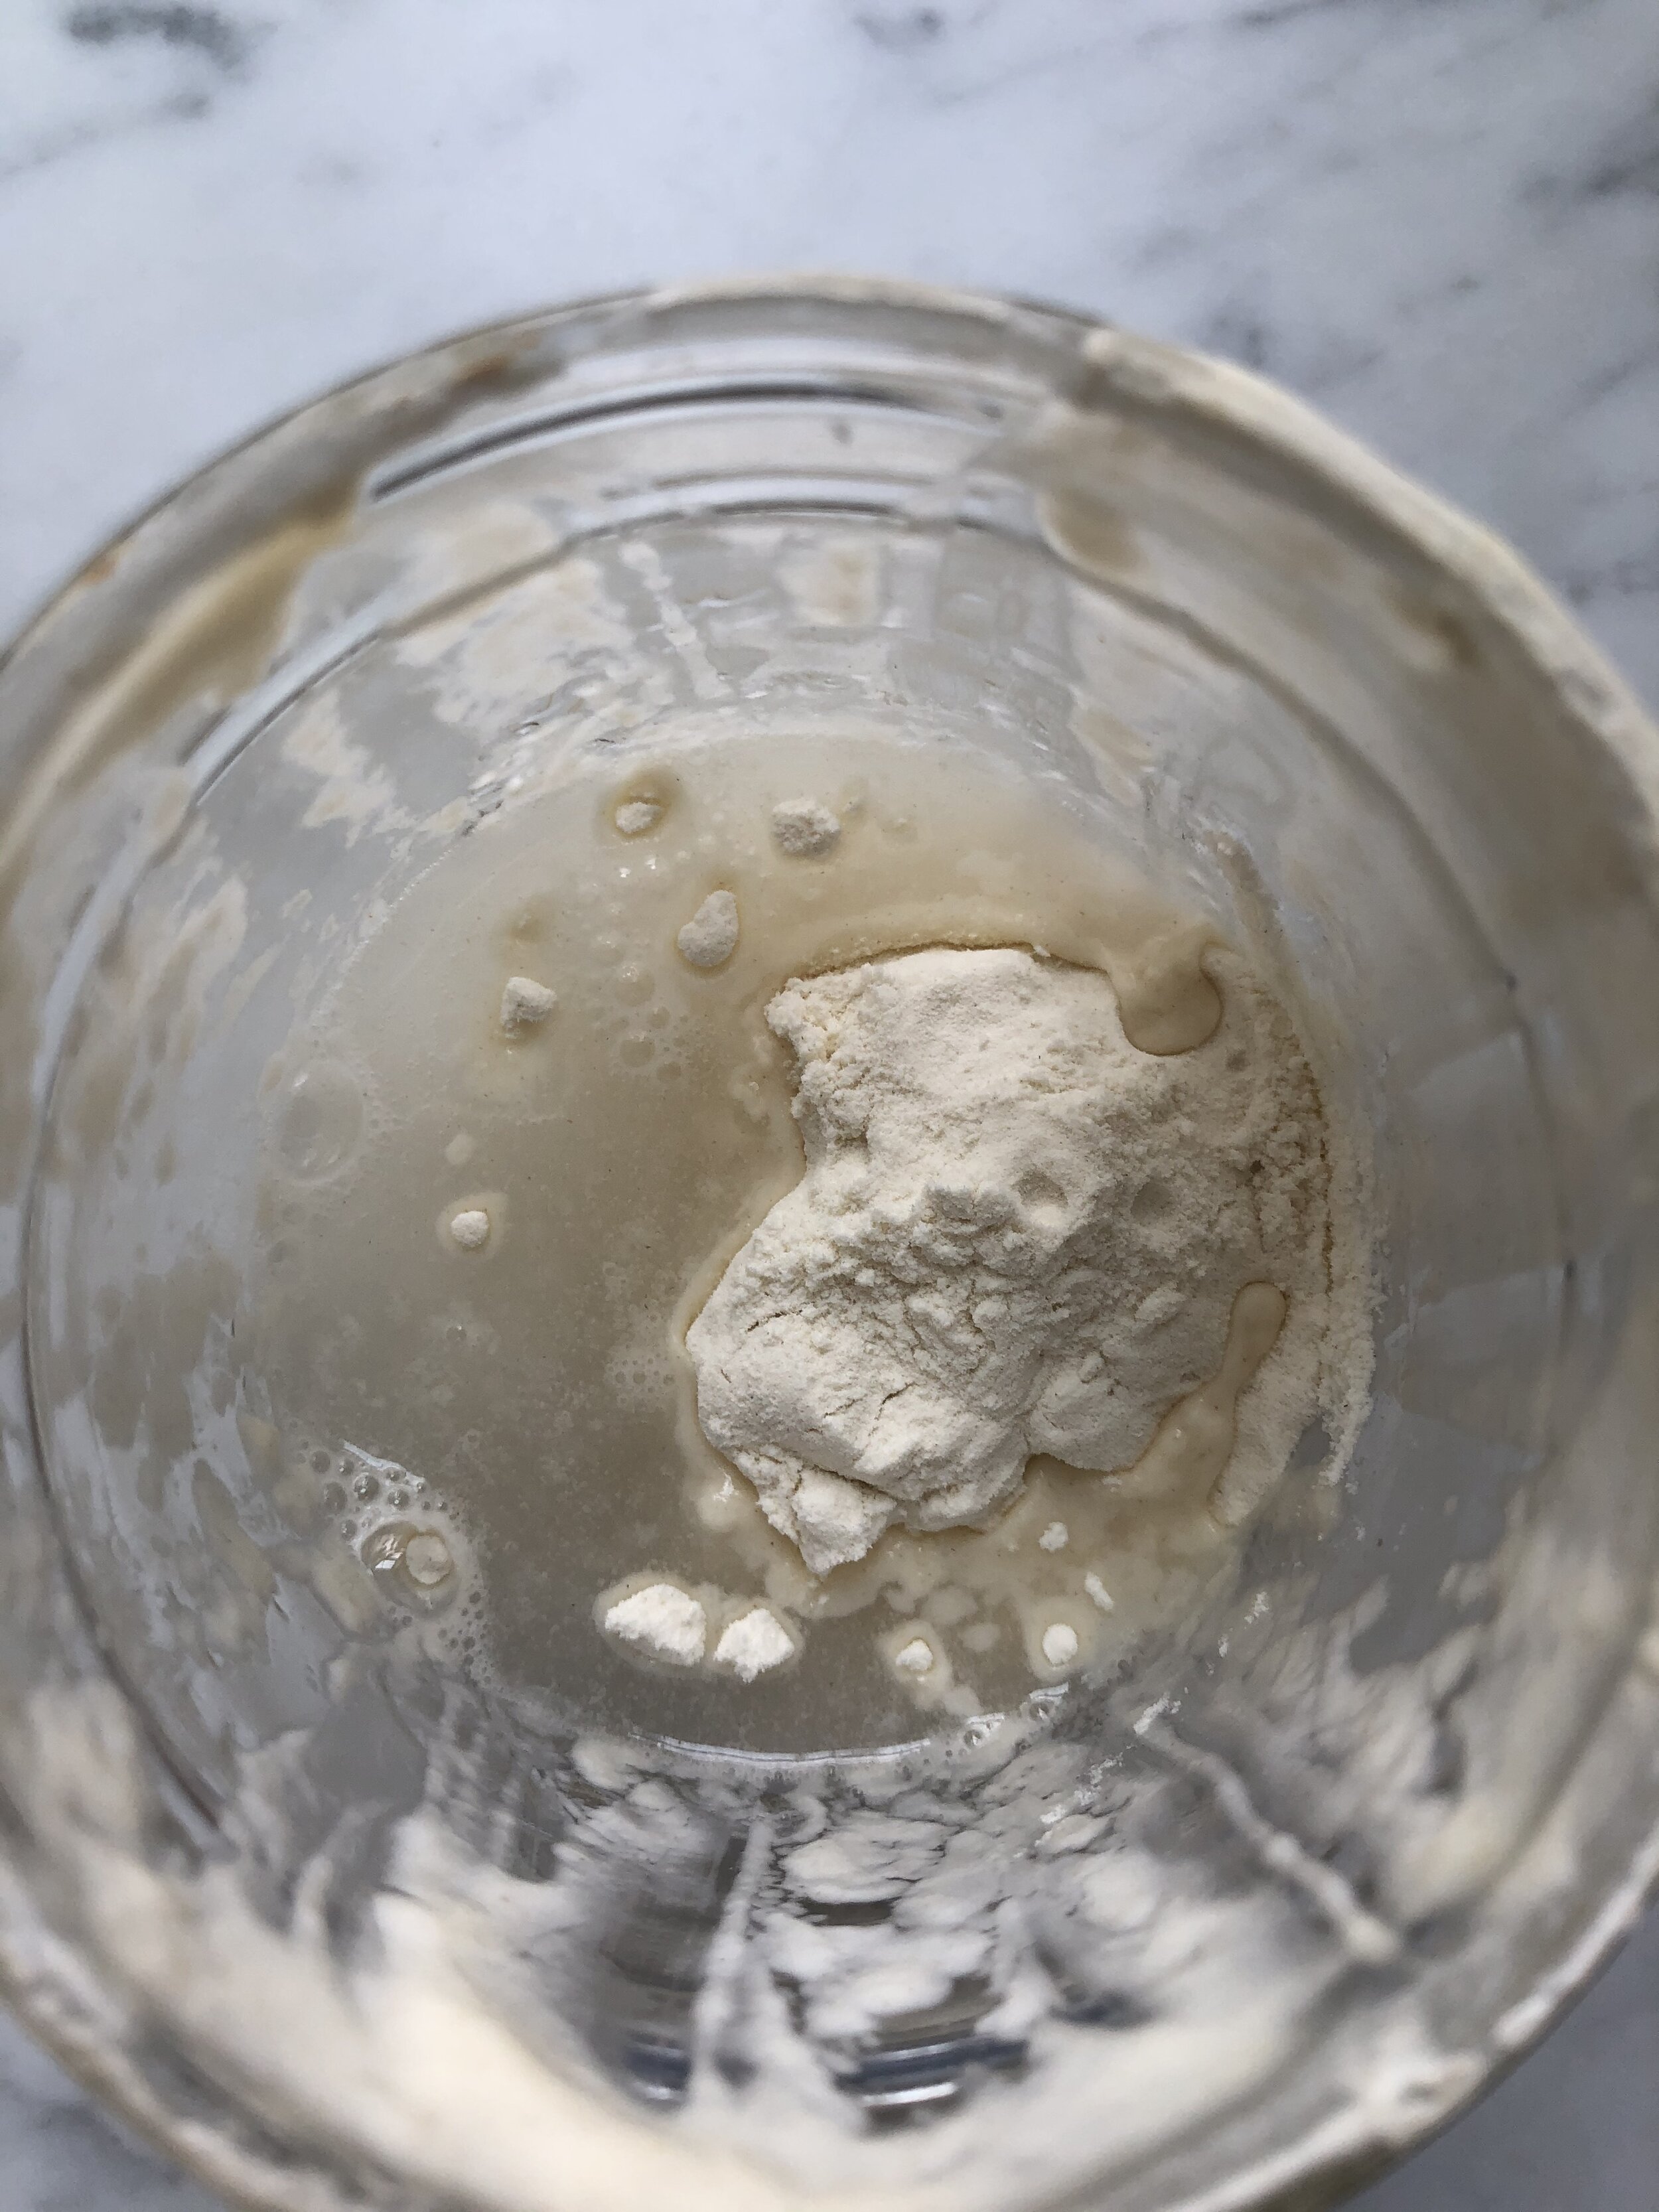
Day 0: place 1/4 cup distilled water and 1/4 cup plus 1 TB organic flour into a glass jar (all purpose is the easiest to start with, but when you bake you can add any flour to the recipe). Mix together with a non-metal spoon and put a loose fitting lid on. (coffee filters with a rubber band work great, too). Place in a semi-warm spot such as a cabinet or the oven with the light on. The consistency should be pretty thick and not runny off of the spoon. You can add a little more flour each time if it feels runny.
12 hours later: add another 1/4 cup flour and 1/4 cup water and stir. Put it back in it’s spot.
Day 1: 12 hours later: add another 1/4 cup flour and 1/4 cup water and stir. Put it back in it’s spot.
12 hours later: add another 1/4 cup flour and 1/4 cup water and stir. Put it back in it’s spot.
Day 2: 12 hours later: remove about 1/2 of the starter since it is now getting bigger and we don't want our cup to overflow then add back in 1/4 cup flour and 1/4 cup water.
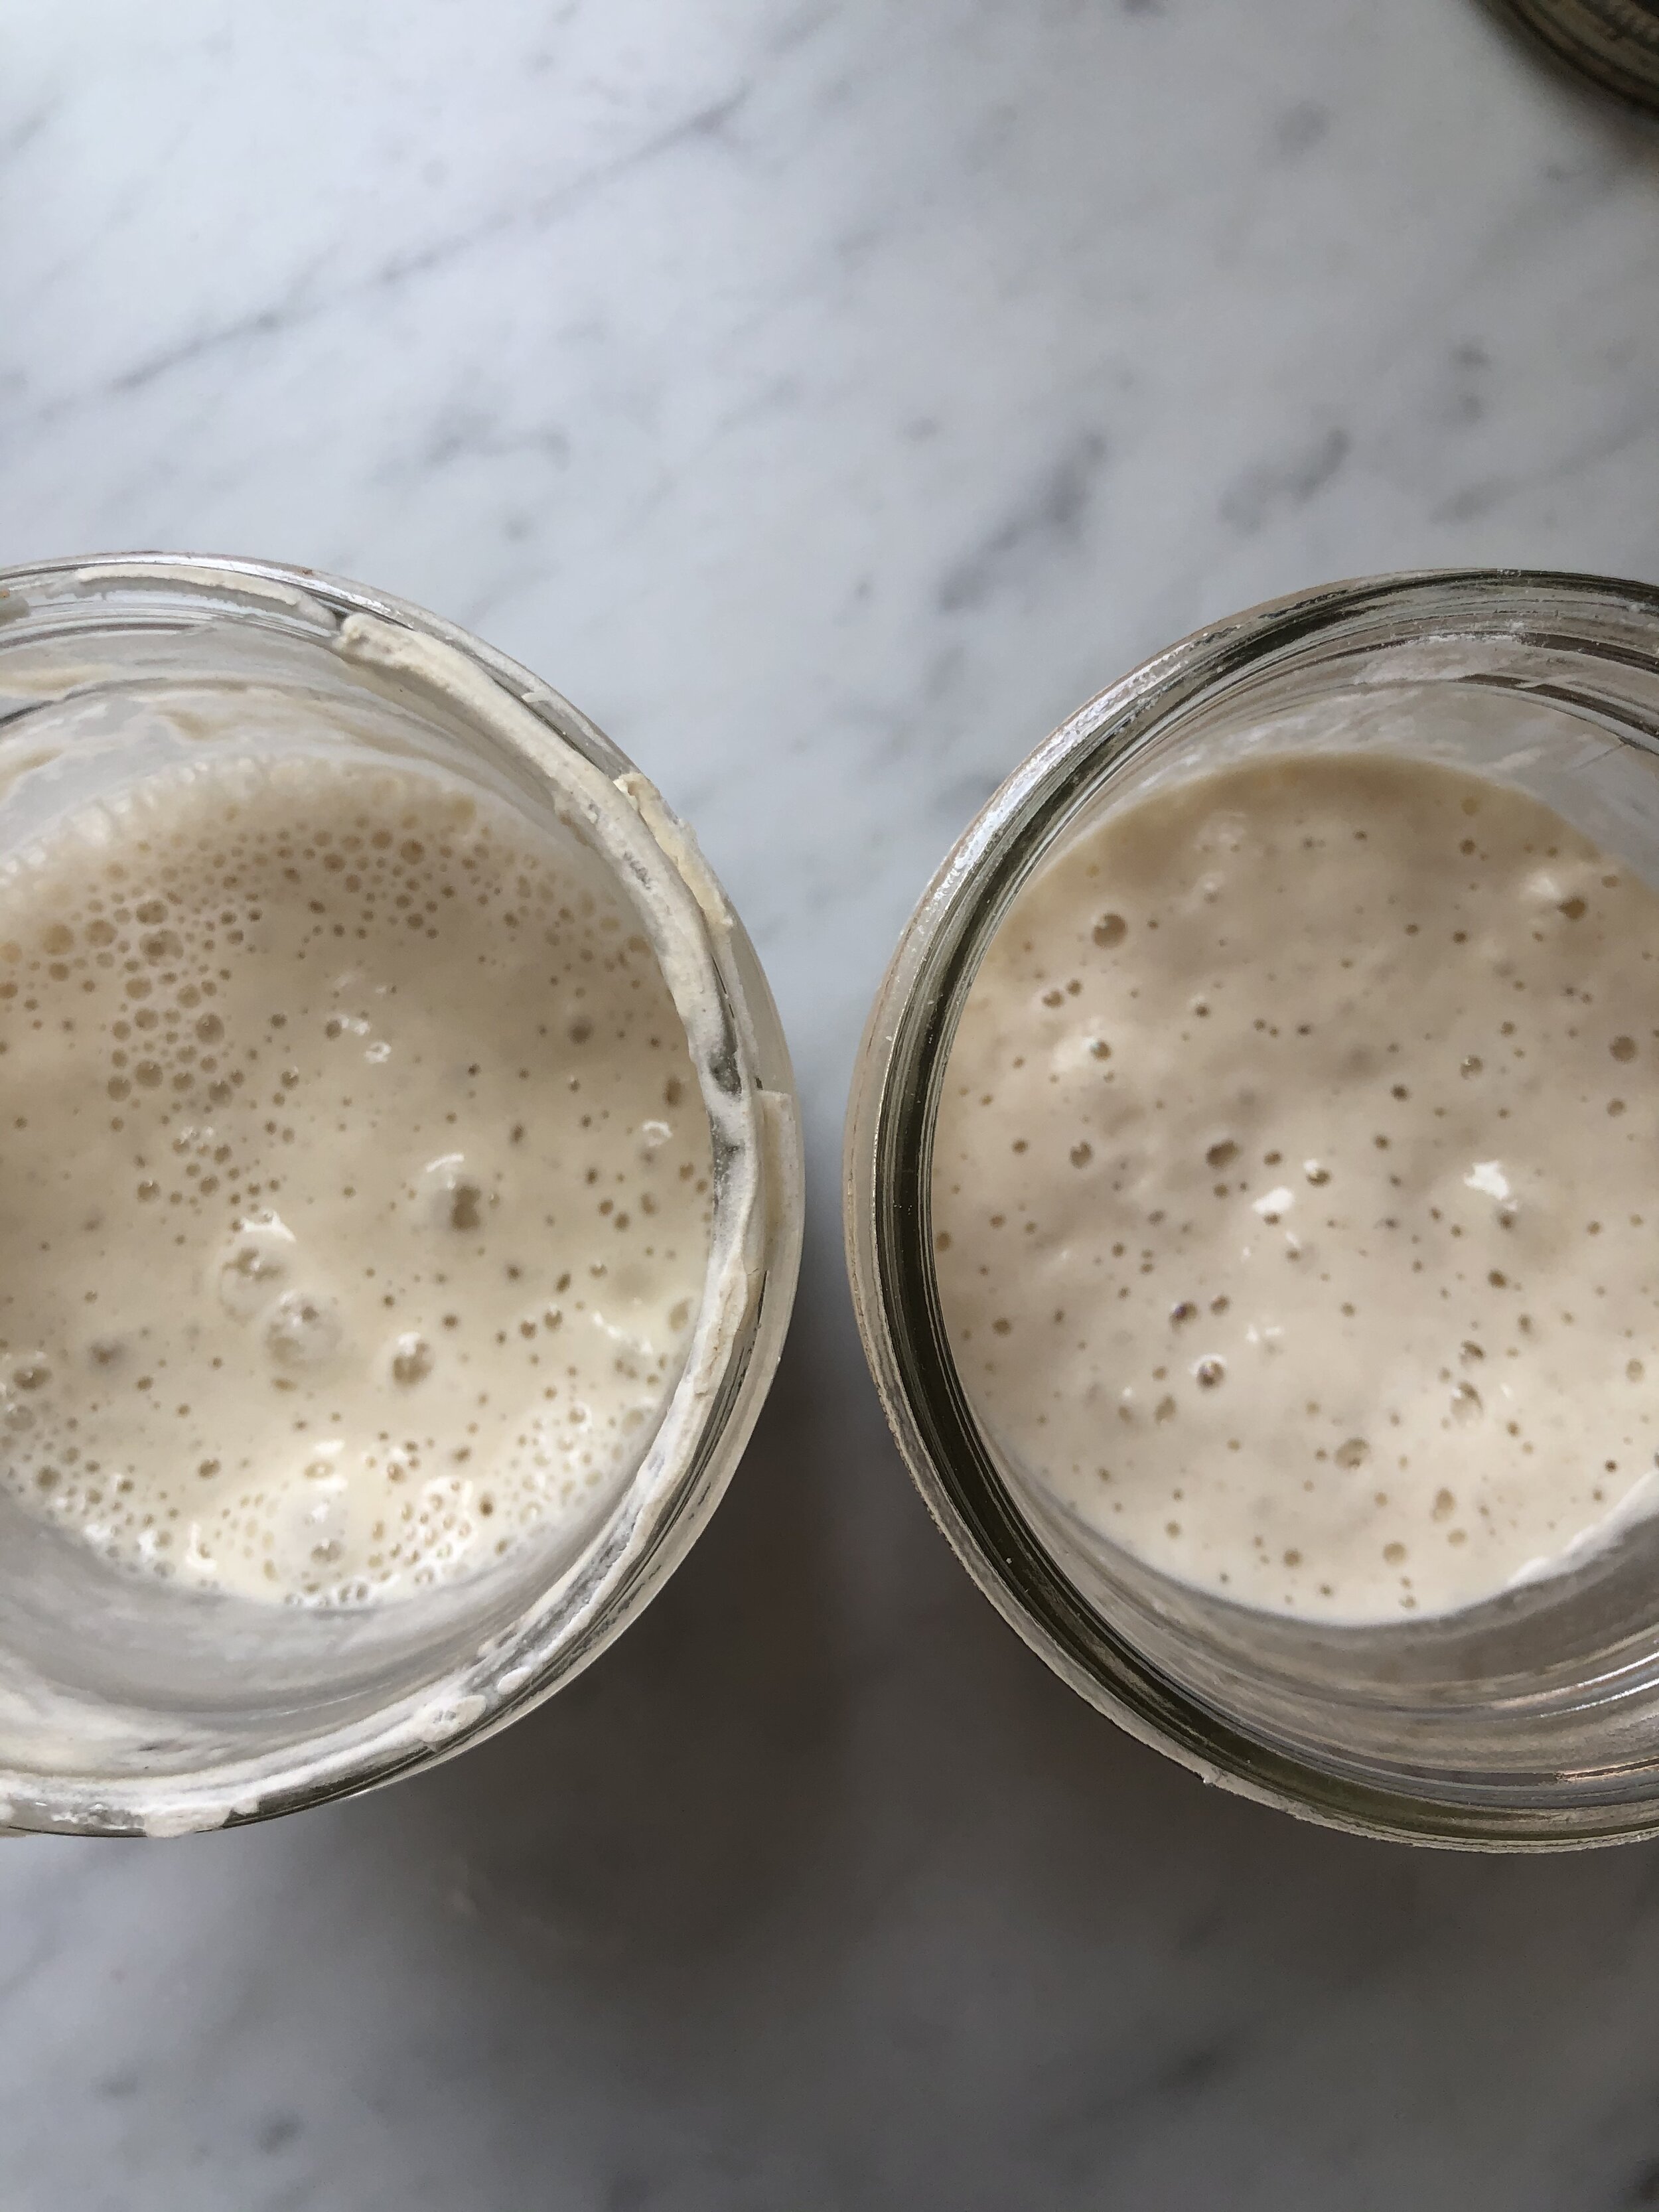
Now that you have been feeding it every 12 hours for 2 days, we are going to switch to feeding it every 24 hours. You may notice bubbles forming, you may notice a slight odor, and you may notice some extra liquid on top. These are all normal!! If there is liquid, just pour that off the top and keep going.

Day 3: 24 hours later remove about 1/2 of the starter then add back in 1/4 cup flour and 1/4 cup water.
Day 4: remove about 1/2 of the starter then add back in 1/4 cup flour and 1/4 cup water.
Day 5: remove about 1/2 of the starter then add back in 1/4 cup flour and 1/4 cup water.
Day 6: remove about 1/2 of the starter then add back in 1/4 cup flour and 1/4 cup water.
Day 7: remove about 1/2 of the starter then add back in 1/4 cup flour and 1/4 cup water.
When your mixture is very bubbly, doubling in size, and a spoonful floats in a cup of luke warm water, it is ready to use. If your mixture is not ready yet, just keep discarding and feeding EVERY DAY!
Here are a few tips that might help:
1) Make sure it is warm enough in your kitchen. If it’s cool (or winter), leaving it in the oven, turned off but with the lights on can help it move along.
2) Make sure the consistency is not runny, it should be a very thick pancake batter. If it is too runny, add a little a little more flour each feed to get this consistency. The actual measurements don’t matter as much as making your starter happy!
3) This normally all takes 7-10 days, but it may take up to 30 days…BE PATIENT. IT IS WORTH IT!
Maintaining Your Starter
Once your starter is ready, you can leave it on the counter and feed it every day, or store it in your fridge.
If you keep it in the fridge, you only need to feed it once a week. (once your starter is at least a few months old and is happy and healthy, you can go even longer than a week. I once went 6 months with it in the back of my fridge and when I took it out to feed it, it reacted perfectly!)
But in the meantime, to keep it happy, take it out of the fridge once a week and feed it 1/4 cup water and 1/4 cup plus 1 TB flour. Leave it on the counter and let it rise and get bubby and then place it back in the fridge.
When you plan to use it again:
Simply take it out of the fridge, feed it and let it get bubbly! That’s it! It is best to use when it is at it’s peak.
Check out my favorite BREAD and PIZZA DOUGH recipes!